Replacing a Ribbon on Almost Any Machine
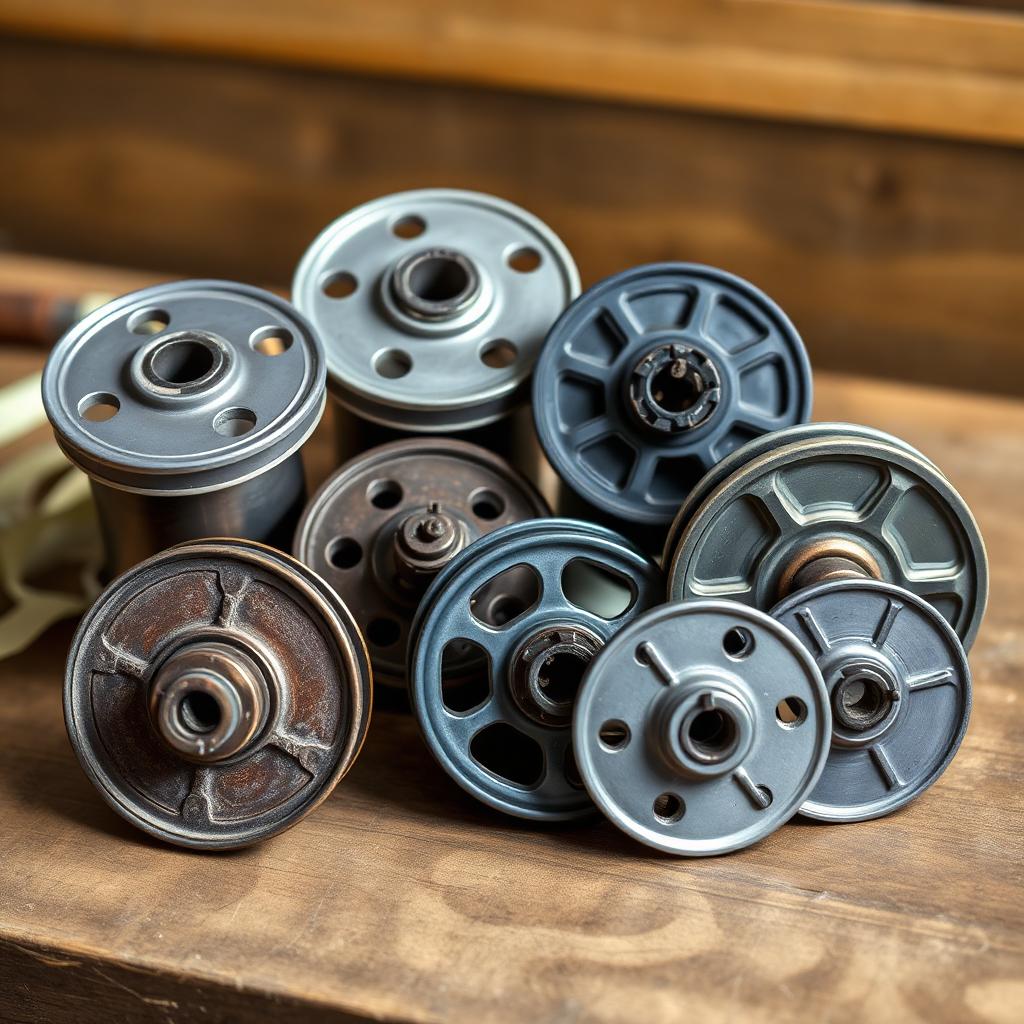
Universal spools, fabric versus nylon, DIN standards versus proprietary reels. A ten-minute job that looks intimidating the first time and never intimidating again.
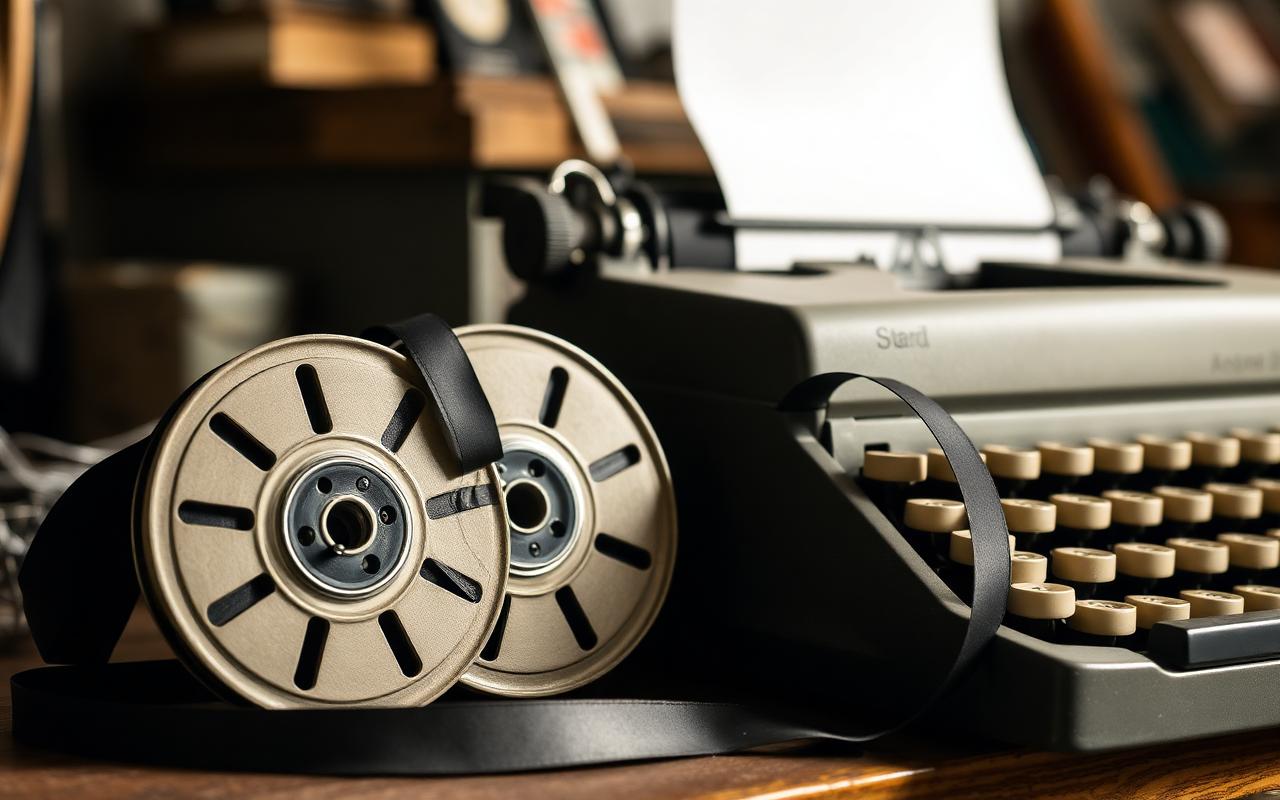
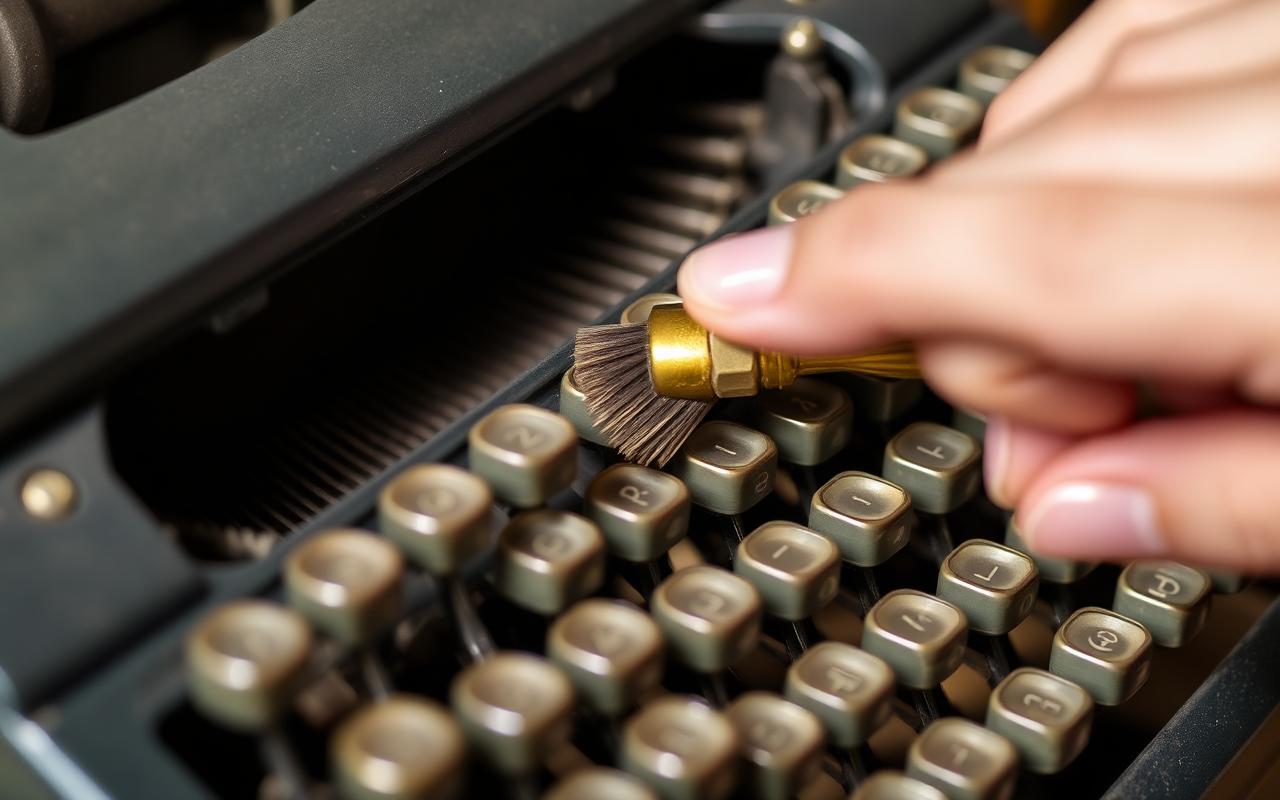
A fresh ribbon transforms a typewriter more than any other single change. The type slugs may be spotless and the segment newly cleaned, but if the ribbon is a forty-year-old strip of dry cotton, the machine will print grey, uneven, and disappointing. Replacing the ribbon is also the most common bench task, and the one people convince themselves they cannot do.
They can. Here is the general procedure that covers about ninety percent of machines, with notes on the exceptions that break the pattern.
What you are buying
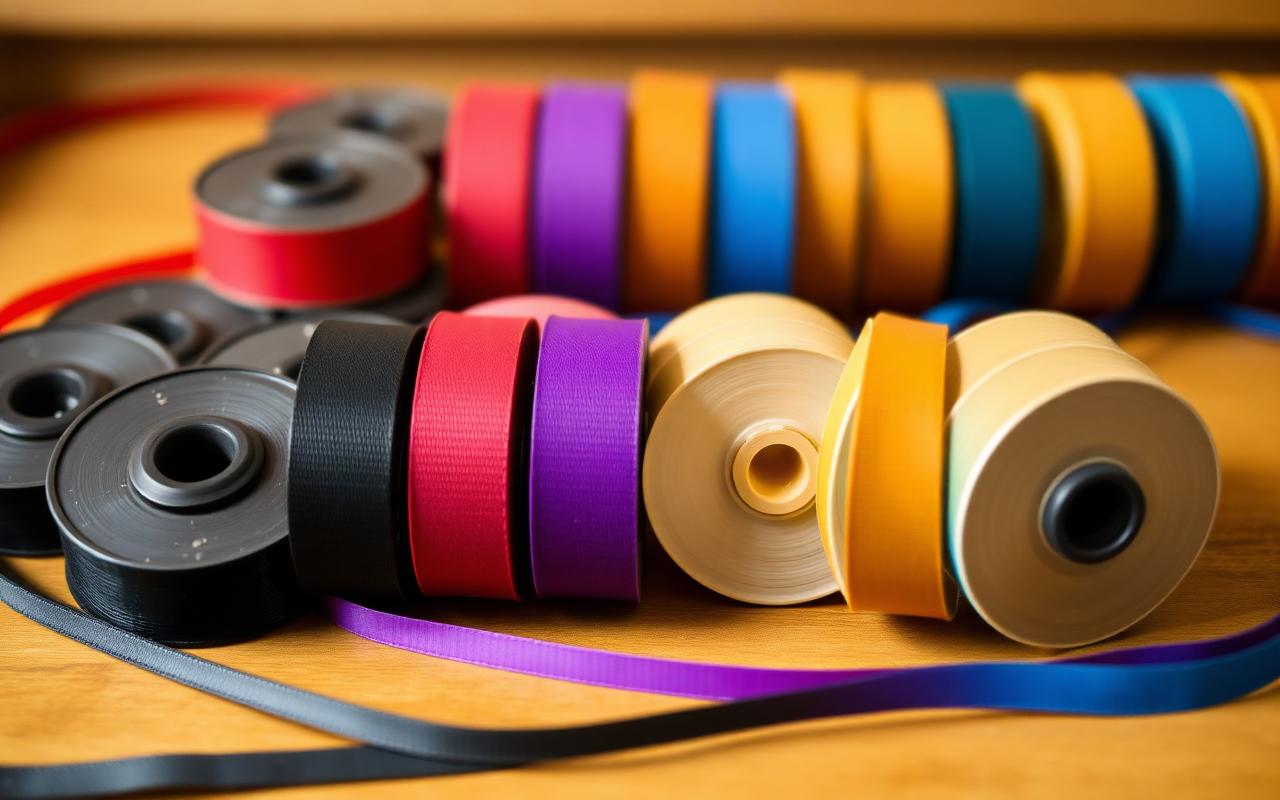
A "universal" typewriter ribbon is half an inch (12.7 mm) wide, wound onto two spools, and connected to the take-up spool by a small metal grommet or a knotted end. Ribbon length varies from about four to ten metres. Ink comes in three common styles.
- Cotton fabric, single black. Softest impression, most forgiving, re-inkable. The default for most vintage users.
- Cotton fabric, black-and-red. Same ribbon material split lengthwise; a lever on the machine shifts the ribbon vibrator up or down to select the colour. Half the ink of a solid ribbon per line, which shortens ribbon life.
- Nylon or polyester film. Sharper impression, longer life, no re-inking. Used mostly on later machines and preferred for archival work.
Buy from a specialist supplier who names the machine and the spool style. Generic "typewriter ribbon" from a general stationer is often the wrong width, the wrong wind direction, or ink dried in transit.
The universal spool procedure
Work with the machine open, ribbon cover removed, and a small tray beside you to catch old ink stains.
1. Advance the ribbon until the metal reversal grommets pass the vibrator. The two grommets tell the machine to reverse direction. When they are on the visible run of ribbon, you can unhook them by hand instead of unwinding both spools. 2. Unwind the ribbon from both spools into the tray. Do not cut it; the length is a rough guide for the new ribbon and the used ribbon can be reserved for temporary re-installation on a machine that will not be used soon. 3. Lift both spools out of their cups. Most cups have a spring clip on top; others simply hold the spool by a central post. 4. Thread the new ribbon exactly as the old ribbon was threaded. Photograph the routing before you unwind anything. The ribbon usually passes over one spool guide, through the vibrator, and onto the second spool guide, in a shallow S curve. 5. Attach one end of the new ribbon to an empty spool using the supplied grommet or the machine's original clip. Wind two full turns onto that spool by hand to lock the attachment. 6. Seat the spools, engage the direction lever, and advance the ribbon several centimetres by pressing any key. Confirm both spools rotate and the ribbon takes up cleanly. 7. Replace the ribbon cover. Type-test the alphabet on a fresh sheet. Adjust the ribbon-height selector if the print appears low on the ribbon (which shortens ribbon life).
Total time on a machine you have never opened before: about ten minutes. Total time on the third machine of the same model: about three.
When the machine is unusual
A handful of models refuse the universal pattern.
- Olivetti Lettera 22 and 32. Use a proprietary plastic spool. Reproduction spools are widely available; if you have the originals, keep them and simply re-spool fresh ribbon onto them from a supplier reel.
- Groma, Erika, and some East German portables. Use a metric-spooled ribbon with a specific hub diameter. 3D-printed spool replicas are a common workaround.
- Ultra-portables (Rooy, Bijou). Extremely short ribbons on tiny spools; a supplier that specifically lists your model is essential.
- Electric typewriters (Selectric excepted). Often use cassettes rather than open spools. These are a separate procedure and covered elsewhere.
Reversal and the two grommets
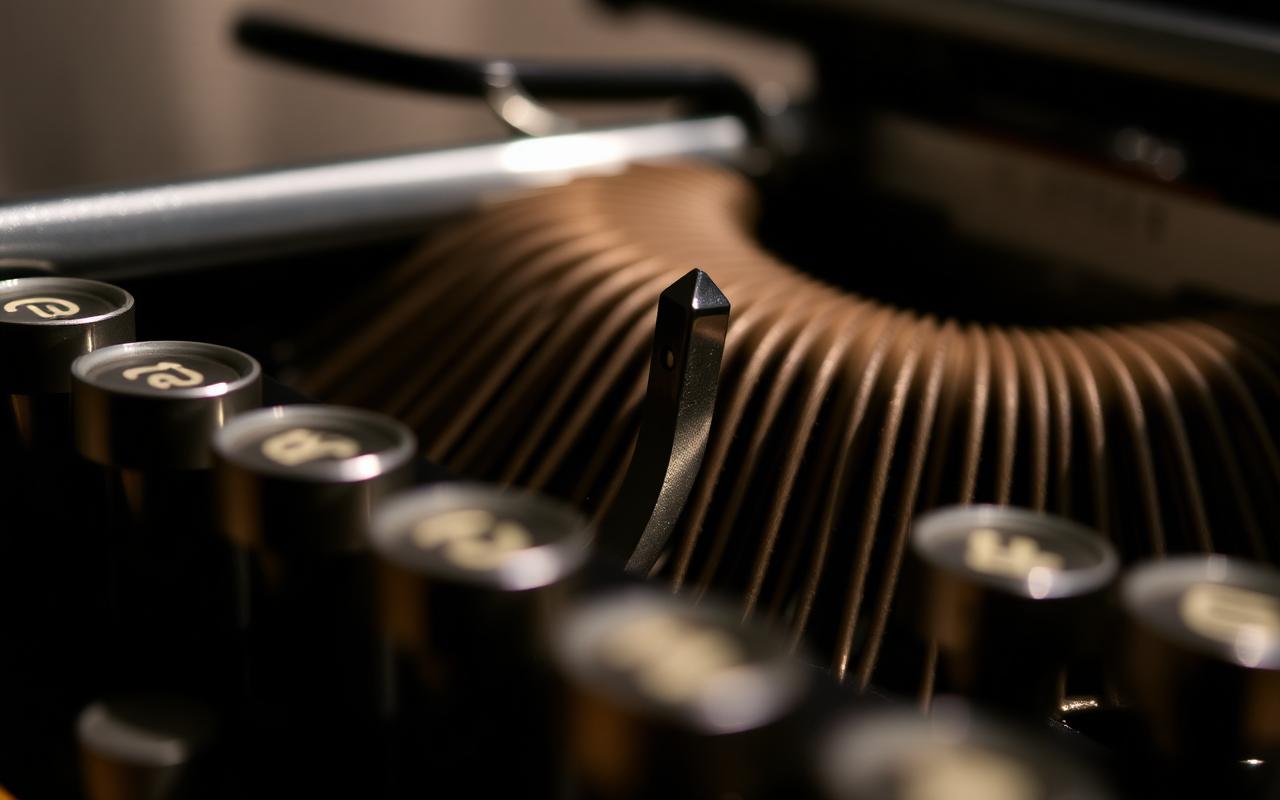
The reversal mechanism confuses new users more than anything else. When the ribbon reaches its end on one spool, a metal grommet on the ribbon triggers a lever, and the machine reverses direction so the take-up becomes the feed. If your ribbon does not reverse, the grommets are almost certainly on the wrong side of the reversal lever. Advance one full spool by hand and check.
Re-inking a fabric ribbon
A cotton ribbon can be re-inked with printer's ink and a small brayer. Unwind onto a sheet of glass, apply a thin, even layer of ink with the roller, let dry for twenty-four hours, and re-spool. The impression is never quite as crisp as a factory ribbon, and the setup is only worth doing if you use the machine daily. For occasional writers, buy fresh.
A ribbon is the cheapest large upgrade in the hobby. Change it, and the machine becomes new twice.
The inked side always faces the paper. Feed the ribbon so the darker face is toward you as you sit at the keyboard.
Yes. Loose ribbons in the case become birds' nests inside the segment.
Most modern nylon dot-matrix ribbons are too wide and too stiff. Buy typewriter-specific ribbons from a specialist supplier.
This article is original writing for The Ribbon & Platen and may not be reproduced without permission. Sources consulted:
- Baco Ribbon & Supply, technical spec sheets
- Author's cross-model swap notes