The First Cleaning: Solvents, Material Checks, and a Careful Sequence
A careful cleaning starts with identifying the machine's materials, checking product guidance, and controlling solvent exposure before any liquid reaches the mechanism.
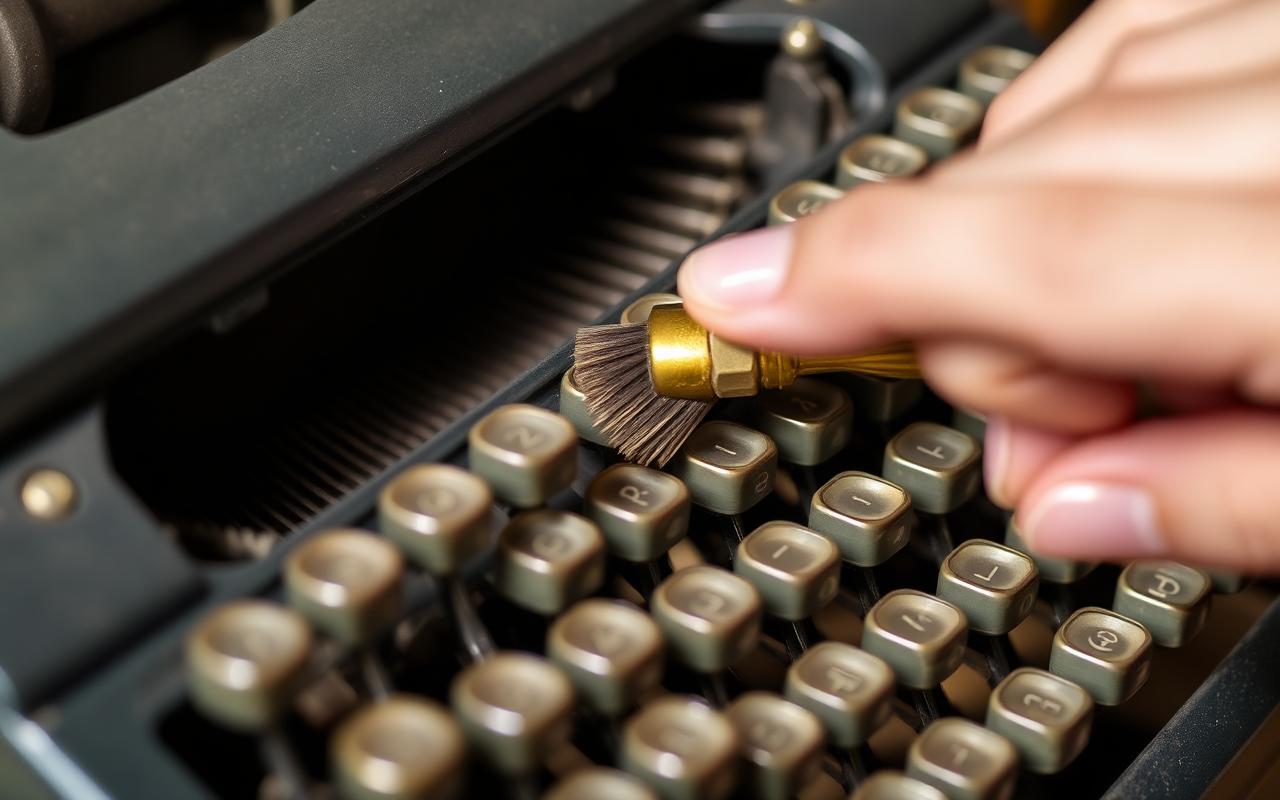
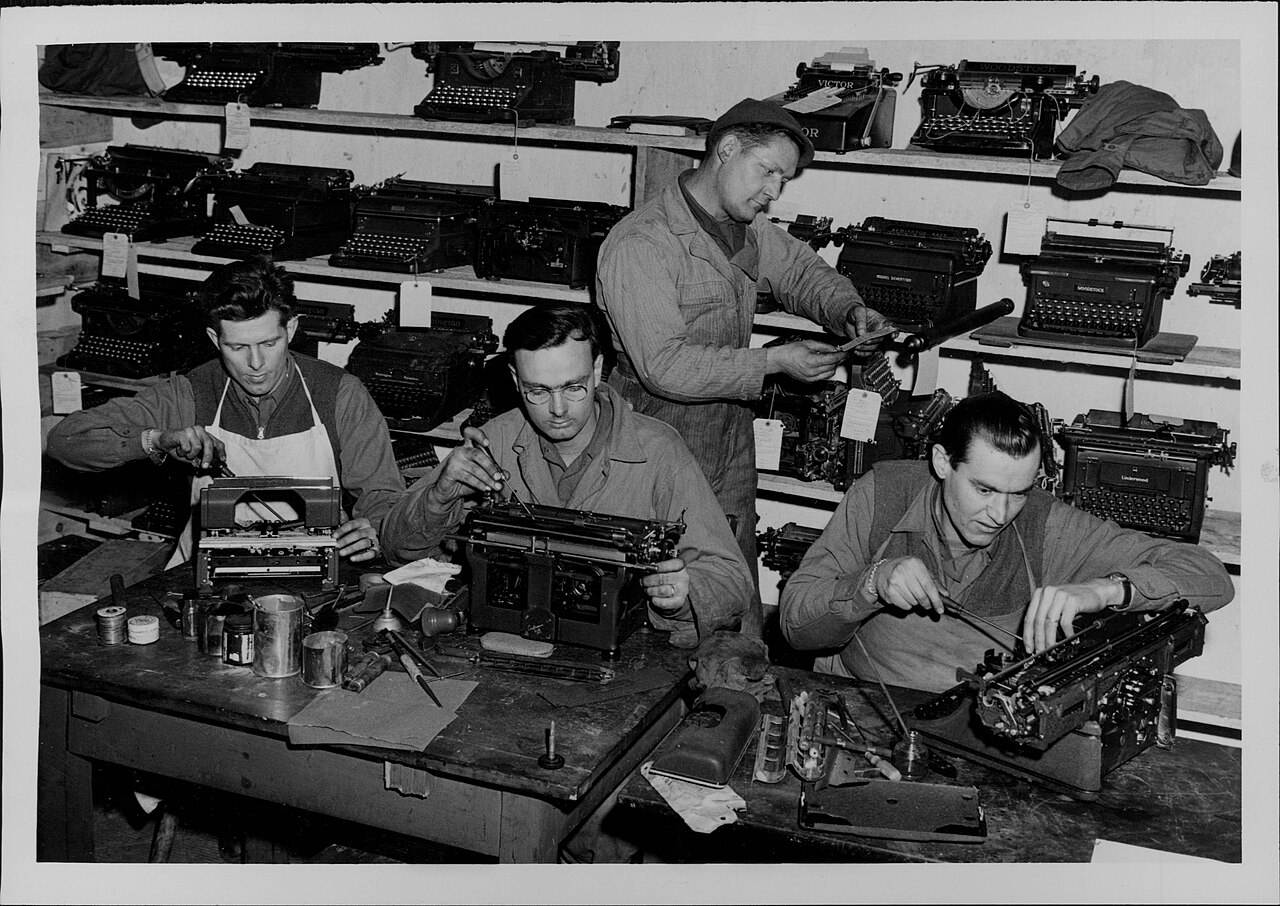
A typewriter that has sat in an attic for forty years is almost never broken. It is dirty, its lubricants have polymerised into varnish, and its rubber has hardened. Cleaning done in the right order fixes the first two problems and reveals which of the third you actually have. Cleaning done in the wrong order turns a two-hour job into a two-month one, because you will spend the extra time undoing decal loss, softened rubber feet, and a paint plate that now shows every brush stroke.
Before using any solvent
Mineral spirits sold as Stoddard solvent are combustible. NIOSH lists inhalation, skin contact, and eye contact as exposure routes, so odorless products still need care. Follow the exact product label and safety data sheet; names such as mineral spirits, white spirit, and Stoddard solvent do not guarantee identical formulations.
Use a solvent only where you can provide effective ventilation and remove flames, sparks, hot surfaces, and other ignition sources. Protect eyes and skin with the equipment specified by the product instructions, keep the container closed when not in use, and use the smallest amount that will do the job. Avoid breathing vapors or allowing liquid onto skin or eyes. If you cannot meet the product precautions, stop and consult a qualified restorer.
Before cleaning, identify the machine's finishes, decals, rubber, and plastics. Check manufacturer guidance and test compatibility in an inconspicuous area. Do not use a solvent on an unknown material based only on a general typewriter-cleaning recipe.
What not to use
Three products are responsible for most preventable damage.
- WD-40. It is a water displacer with a light solvent carrier. It does move grime, but it also leaves a thin oil film that attracts dust, and within a month you will have a stickier machine than you started with. Never in the segment.
- General-purpose penetrating oils. Same problem, larger residue. Reserve for genuinely seized fasteners, never for typebars.
- Household 'oil soap' or furniture polish. Silicone content will contaminate any surface you later try to paint, glue, or re-decal.
Two products are commonly used, but still require material and product checks.
- Mineral spirits (some products are labelled Stoddard solvent or white spirit). These can dissolve grease, but products and machine materials vary; they may harm finishes, decals, rubber, or plastics. Follow the exact label and safety data sheet, and check compatibility before use.
- Isopropyl alcohol. Do not assume a concentration or material is universally safe. Use it only when the machine and product instructions confirm compatibility.
Anything more exotic — acetone, brake cleaner, ultrasonic tanks — belongs to advanced restoration and is easy to over-apply.
The sequence
Work from the top down and from dry to wet. Wet solvent runs downhill, and any grime you loosen must have somewhere clean to fall.
Step 1: dry brush and vacuum
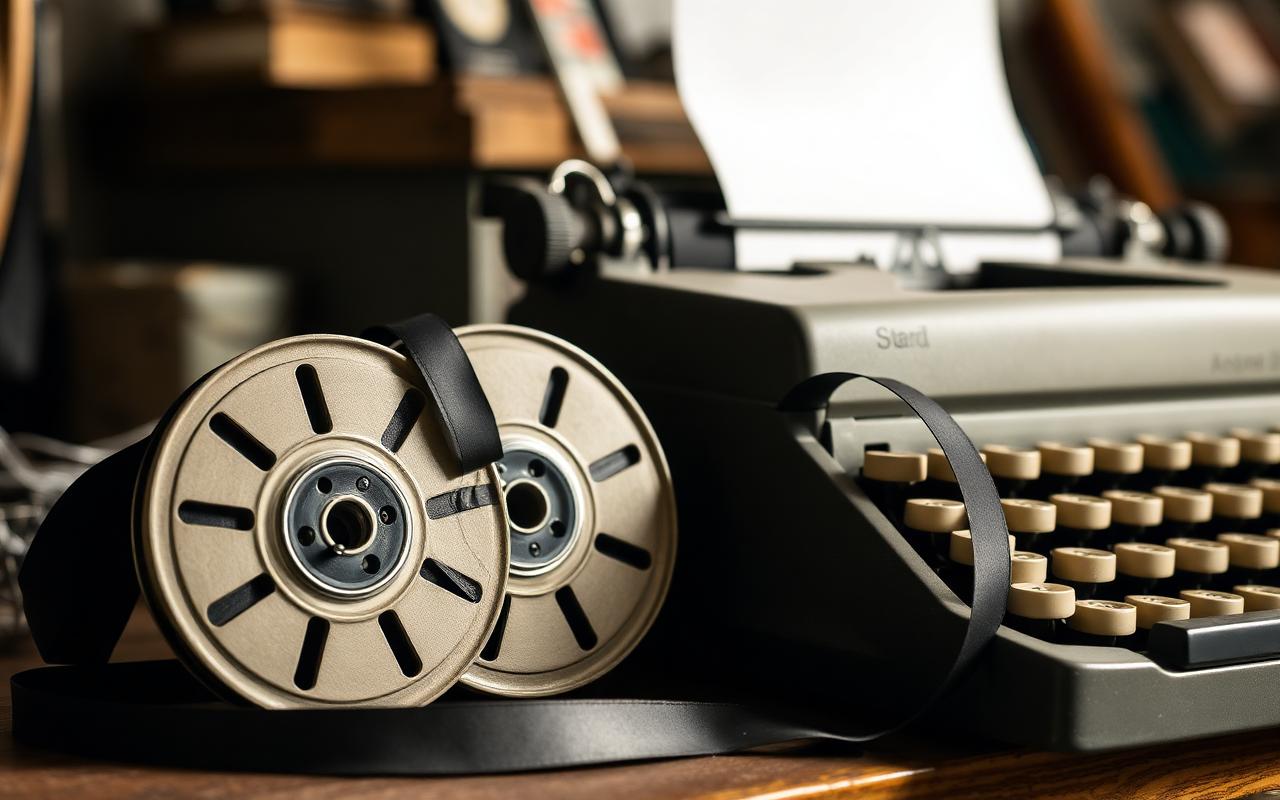
Remove the ribbon and set it aside. Cover the platen with a strip of paper. With a soft one-inch paintbrush, sweep from the top of the segment outward, letting dust fall onto the paper. Vacuum through a cloth over the nozzle so nothing small gets pulled into the machine bag. Ten minutes of dry brushing removes eighty percent of what looks like "grease" on a neglected machine.
Step 2: exterior wipe
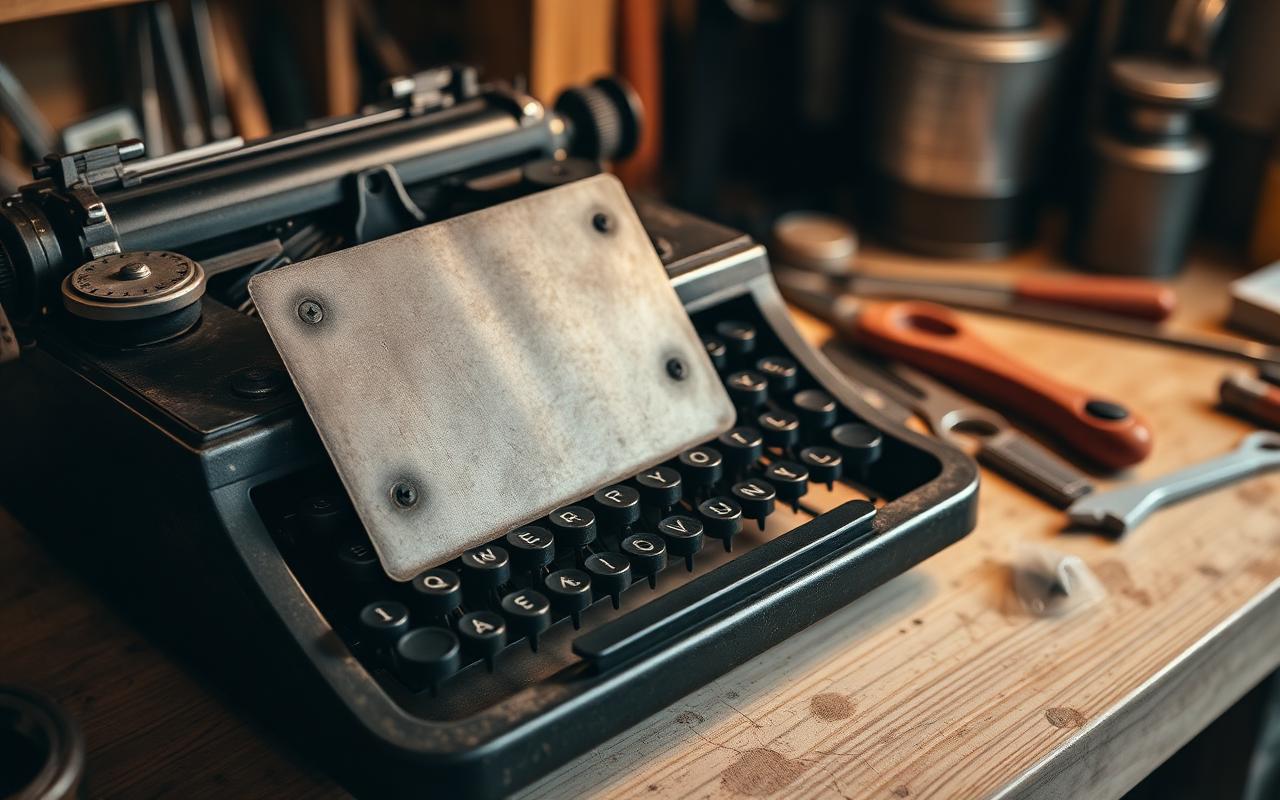
A slightly damp microfibre cloth on the paint plate, followed by a dry cloth. No solvents yet. If the paint is filthy with nicotine or attic film, a tiny amount of mild dish soap in warm water on the cloth is fine — but avoid running water over the decals, and dry immediately.
Step 3: keys
Use a soft cloth or swab with a cleaner confirmed compatible with the key material. Do not use alcohol on an unidentified keytop; some plastics and finishes can be damaged by solvent contact.
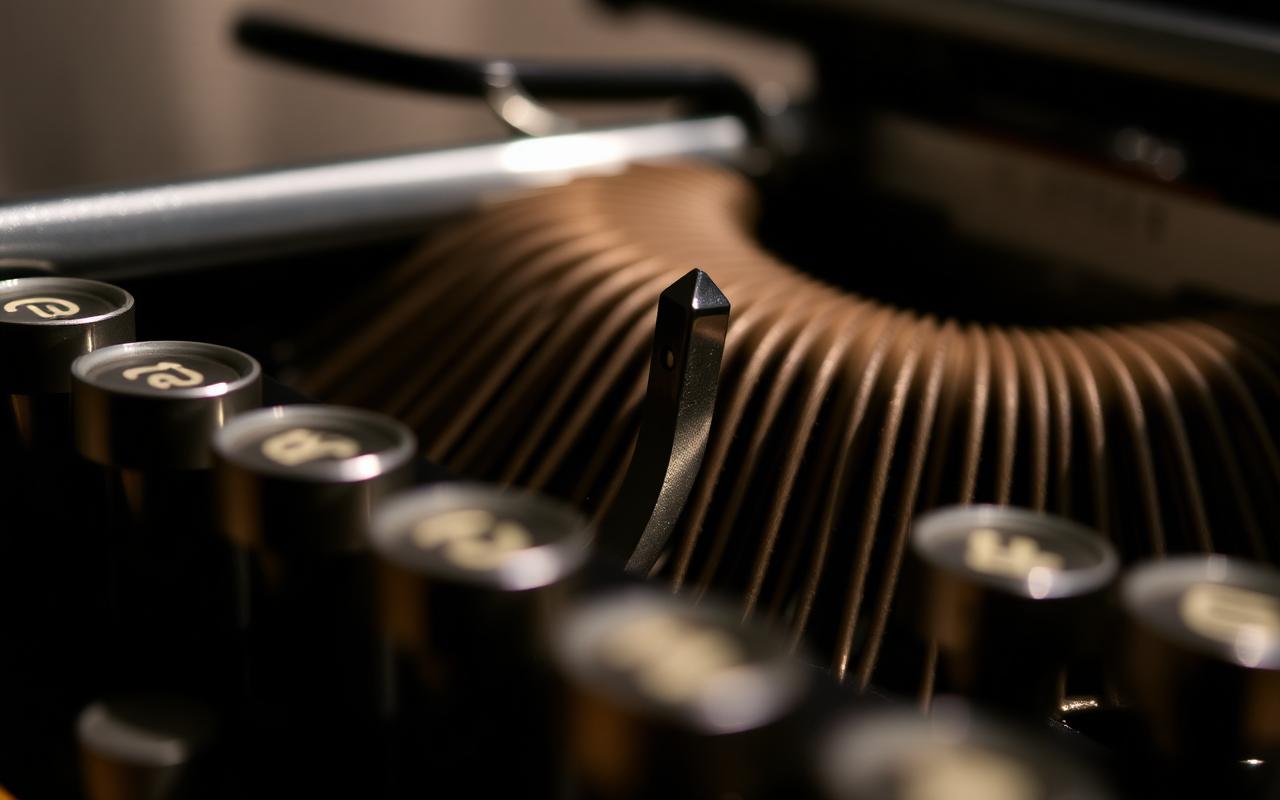
Step 4: the segment
Only continue if the product label permits this use and the safety precautions above are in place. Tilt the machine forward on a folded towel so the segment overhangs the bench edge. If the finish and nearby materials have passed a compatibility check, use a small brush with the minimum amount of the selected product. Never spray, flood, or soak the mechanism. Stop if the product affects paint, decals, rubber, or plastic.
Do not spray, flood, or leave solvent unattended. Follow the product label for safe handling and re-entry; do not rely on a fixed waiting time to control vapors.
Blot escaped solvent with a folded paper towel pressed against the base of the segment. Repeat the brushing pass twice more with fresh solvent; by the third pass, the brush should stay clean.
Step 5: type slug faces
If the type slug material and finish permit it, roll a strip of low-tack tape sticky-side up around a small block of wood and gently lift loose ink and paper fibre. Avoid abrasives and unverified solvents; stop if the finish or typeface is affected.
Step 6: lubrication (almost none)
A typewriter is a dry-running machine at the segment. The only places that want lubricant are the carriage rails, the escapement pivot, and the mainspring hub. One drop of light instrument oil, applied on the tip of a wire, per location. That is the entire budget. Any additional oil migrates into the segment and starts the varnish cycle over again.
Step 7: test and rest
Type the alphabet twice and note which typebars still drag. Do not repeat solvent application unless the product instructions, material compatibility, and safety precautions still support it. Follow the product instructions before closing the case or returning the machine to use.
A careful first cleaning may reveal that a machine needs more than routine cleaning. Do not force a part or escalate to stronger chemicals to make a quick repair. Stop when material compatibility or safe handling is uncertain, and ask a qualified restorer for help.
No. Check the machine manufacturer's guidance and the cleaner label first. Alcohol can damage some finishes, decals, rubber, and plastics.
Do not use it on an assembled machine. Use it only if the type slug material and cleaner instructions are known to be compatible.
Sparingly and only at documented pivot points. A typewriter is a dry-running machine; oil in the segment is why the machine seized in the first place.
This article is original writing for The Ribbon & Platen and may not be reproduced without permission. Sources consulted:
- Richard Polt, 'The Typewriter Revolution' (2015), maintenance chapter
- Author's bench logs, 2018–2025
- NIOSH Pocket Guide: Stoddard solvent (mineral spirits)