Rubber Feet and Grommets: The Small Parts That Determine Feel
Hardened feet turn a quiet portable into a jackhammer. Replacing them is a one-hour job that changes how the machine sounds and how it walks on the desk.
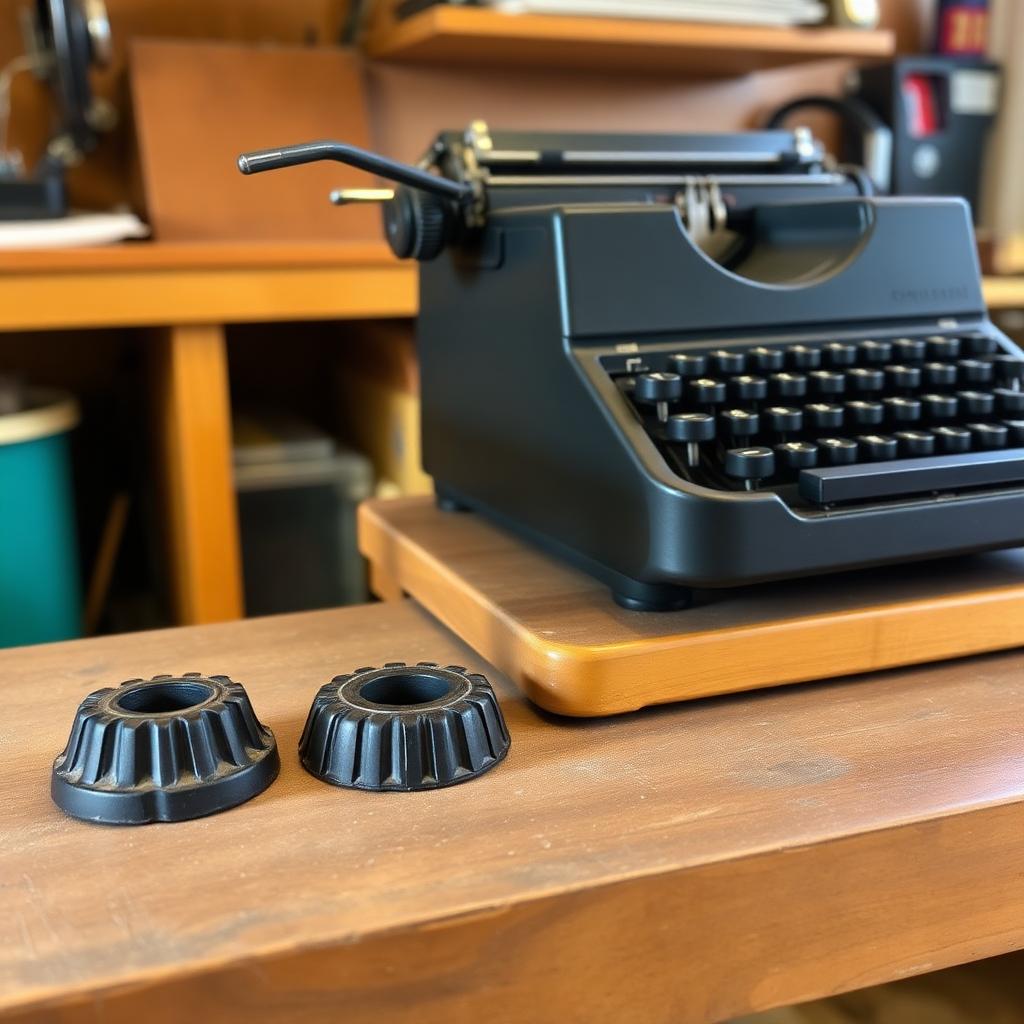
There is an experiment worth doing on any portable typewriter you have owned for a while. Place it on a wooden desk, type a full sentence at normal speed, and listen. Now put a folded bath towel under the typewriter and type the same sentence. If the second one sounds dramatically quieter and feels calmer under your hands, the feet on your machine have hardened, and half of what you thought was the character of the typewriter is actually the character of your desk resonating through failed rubber.
Replacing the feet is a one-hour job. The parts cost a few dollars. The improvement is one of the largest single-step upgrades available on a vintage typewriter, and one of the least glamorous, which is why so many owners skip it.
What the feet do
The four feet at the corners of a portable typewriter's base plate serve three functions at once.
First, they isolate the mechanism from the desk. Every keystroke drives a small vibration into the frame; hard feet couple that vibration directly into whatever surface the machine sits on, turning the desk into a soundboard. Soft feet damp it before it leaves the typewriter.
Second, they stop the machine walking. A rigid-bottomed typewriter on a smooth desk creeps under repeated typing impulses — noticeably over a page, dangerously over a session. Rubber feet grip the surface enough to hold position.
Third, they level the machine. Base plates are rarely perfectly flat after decades of handling, and feet compress unevenly to compensate. Rigid feet on a bowed base make the machine rock.
Hardened feet fail on all three counts. A machine on failed feet is louder, walks on the desk, and often rocks slightly. All three symptoms recover the moment fresh feet are fitted.
Diagnosing the feet
Turn the typewriter over on a padded surface. Look at each foot in turn. New rubber is matte, slightly compressible, and shows a visible fingernail dent that recovers over seconds. Aged rubber is glossy, sometimes cracked, and hard to the touch. Squeeze one between finger and thumb: fresh rubber gives, aged rubber does not.
A more objective test: try to peel a corner of the foot away from the base plate with a fingernail. New rubber peels reluctantly and returns to shape. Aged rubber peels stiffly, may crack at the fold, and does not return.
If any of these tests fails on any foot, replace all four. Mixing new and old feet leaves the machine unbalanced.
Finding replacements
Three sources work well.
- Aftermarket typewriter suppliers. Several vendors sell pre-cut feet in the common sizes (three-quarter inch and one inch diameter, quarter-inch and three-eighths-inch thick). These are ready to fit.
- Rubber sheet from an industrial supplier. For unusual sizes or shapes, buy a small piece of EPDM or nitrile rubber sheet in the correct thickness and cut your own with a leather punch. This is cheap and gives you the exact size.
- Cannibalised parts. A junker machine of the same model donates its feet if they are still soft. Rarely economical unless you have a donor for other reasons.
Match the thickness carefully. A foot too thin lets the base plate contact the desk on hard keystrokes. A foot too thick raises the machine and can foul the case fit. Half a millimetre is the widest acceptable variance.
Fitting
Most feet are held by one of three methods.
Push-in stems. A rubber post moulded into the underside of the foot pushes through a hole in the base plate and grips from the inside. Removal is by pulling firmly with pliers, wearing the rubber away in the process. Fitting is by lubricating the stem lightly and pushing through from below.
Adhesive. Feet are simply glued to the base plate. Removal is by peeling and scraping any residual adhesive. Fitting is with a small dab of contact cement or neoprene adhesive — nothing permanent, so the feet can be replaced again in the future.
Screwed. Uncommon on portables but occasional on office machines. A small screw through a hole in the foot secures it to the base. Straightforward.
Whatever the fixing method, work on one foot at a time so the machine remains stable through the process. Turn the typewriter carefully upright between feet to check that the case still closes and nothing is fouled.
The case grommets
Do not stop at the feet. Most portable cases have additional isolation pads inside — small rubber blocks under the corners of the mechanism where it rests in the case. These harden on the same timescale and by the same mechanism. Replace them at the same visit; the parts are cheap and the disassembly is already done.
Older office machines occasionally have internal rubber isolation grommets between the mechanism and the frame casting. These are less critical to daily use but do affect noise. If a machine you have serviced still sounds harsher than it should after new feet, look for internal grommets.
The audible result
A portable typewriter with fresh feet and fresh case grommets, typed on a normal wooden desk, sounds like the machine its designers heard on the factory bench. It is roughly six to eight decibels quieter than the same machine on hardened feet — a difference that is not subtle. The keystroke feel changes too: crisper at the platen, less booming through the frame, more precise under the fingers. What you had thought of as the sound of an old typewriter turns out to be the sound of an old typewriter with failed feet, and once you have heard both, you will not go back.
Press a fingernail into one. It should leave a visible dent that recovers slowly. Hard feet will not dent at all.
Yes. Rubber sheet in the correct thickness is easily cut with a hole punch. Match the original thickness within half a millimetre.
Often, yes. Look for isolation pads inside the case where the machine rests. Replace these at the same time.
This article is original writing for The Ribbon & Platen and may not be reproduced without permission. Sources consulted:
- Rubber Chemistry and Technology, 'Aging of Natural Rubber' (1974)
- Author's replacement notes on 70 sets of feet across many models