Repairing Cracked Bakelite Keytops Without Losing the Legend
The characteristic cracks in old Bakelite keys are not always fatal. Here is how to stabilise a hairline, glue a clean break, and know when to give up and swap the keytop.
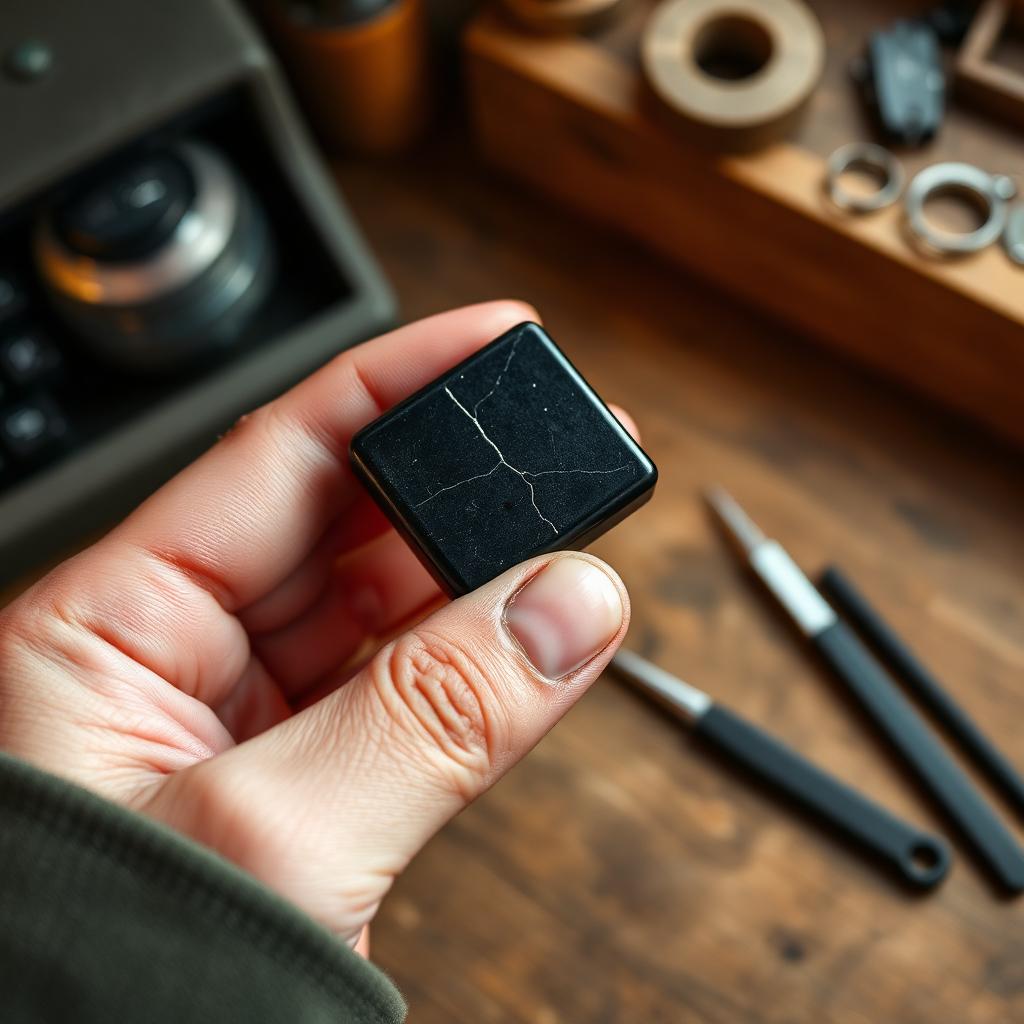
A cracked keytop is one of the most common cosmetic faults on a pre-1955 typewriter, and one of the most misunderstood. Owners tend to react in one of two ways: they either ignore the crack until it fails completely, or they replace the keytop from a donor and lose the original legend. Neither response is necessary. Bakelite is brittle but bondable, and most keytop cracks can be stabilised so effectively that the repair is invisible at arm's length and the original ring legend is preserved.
This is a two-hour job per keytop on a first attempt, forty minutes once you have done a dozen. It requires patience more than skill.
Why Bakelite cracks
Bakelite — chemically, a phenol formaldehyde thermoset — was chosen for keytops because it is dimensionally stable, hard, and can be moulded around a paper legend disc protected by a glass or celluloid cover. What it does not do well is flex. Over decades the resin shrinks fractionally as residual moisture escapes. That shrinkage puts the keytop under low but persistent tension around the metal key lever it is moulded onto.
The result is two typical crack patterns.
- Radial cracks run from the edge of the keytop toward the centre. These are shrinkage-driven and usually harmless if caught early.
- Circumferential cracks run around the keytop parallel to its rim, often near the collar where the key lever passes through. These are more dangerous because they can lift the top plate away from the disc and expose the legend to wear.
A third pattern — a clean break through the whole keytop — is nearly always caused by an impact, not by age, and requires different treatment.
What you need
- Two-part clear epoxy, low-viscosity, thirty-minute cure. Avoid five-minute epoxies; they set before capillary action pulls them into the crack.
- A blunt dental probe or a fine needle.
- Isopropyl alcohol, 99 percent, and clean cotton swabs.
- Fine soft brushes, size 000 or smaller.
- A magnifying loupe, 5× or 10×.
- Bulldog clips or elastic bands for clamping.
- For missing chips: dry earth pigment (bone black, iron oxide) to tint the epoxy.
Work under strong angled light. Overhead light hides fine cracks.
Procedure for a hairline
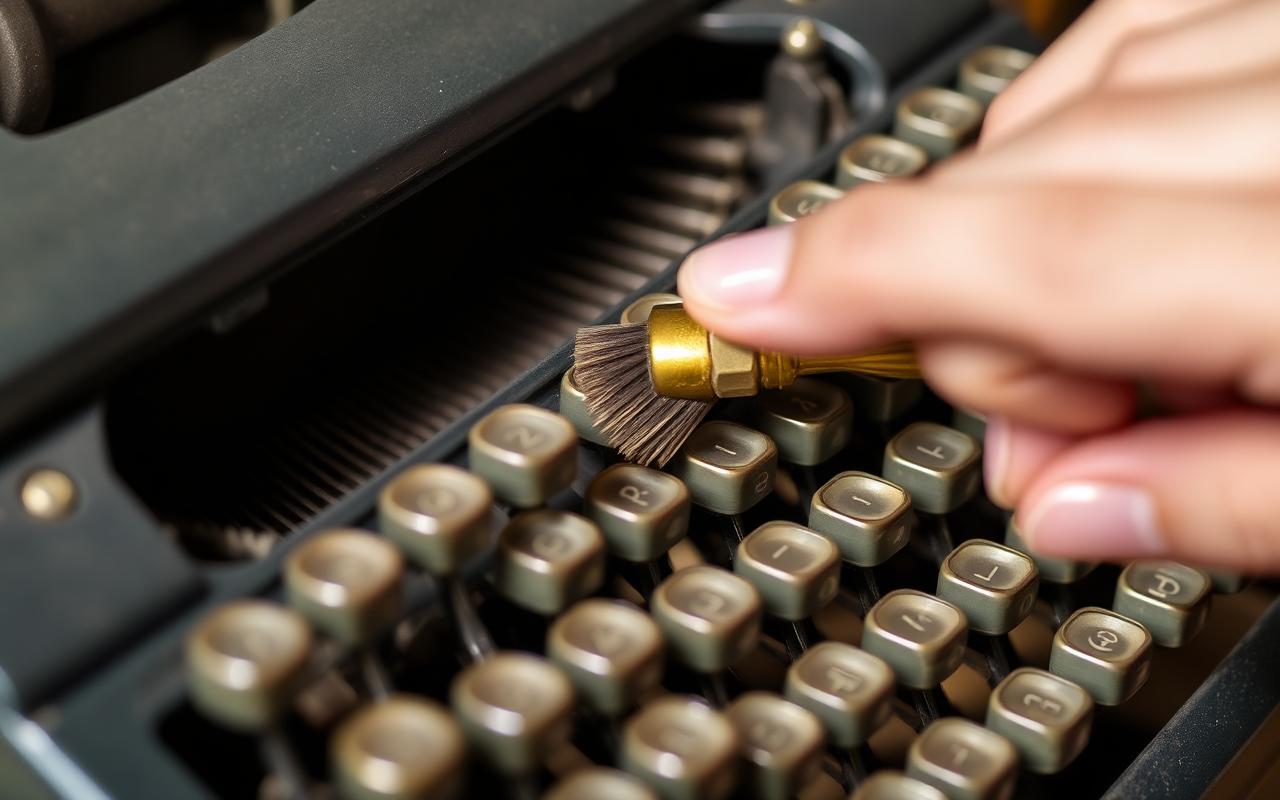
Clean the crack first. Any oil or wax on the surface will prevent the epoxy from bonding. Wipe the keytop with isopropyl alcohol on a swab, then work the swab into the crack itself using the dental probe. Allow to dry fully — twenty minutes is safe.
Mix a small quantity of epoxy. You need less than you think; a batch the size of a grain of rice is enough for two keys. Mix thoroughly for a full minute — under-mixed epoxy does not cure properly and stays tacky forever.
Apply the epoxy to the crack with the tip of the dental probe, drawing a bead along its length. Wait sixty seconds. The epoxy will begin to be drawn into the crack by capillary action. Add a second bead, wait again. On a healthy hairline, two applications are enough; on a deeper crack, three or four may be needed.
Clamp the keytop lightly — a bulldog clip closed just enough to hold the two sides of the crack in contact is right. Overclamping squeezes epoxy out of the joint and starves the bond.
Cure for the full time listed on the epoxy label. Do not test at the halfway point; thermoset cure is not linear and the first two-thirds of the time do most of the strength gain.
After cure, clean any residue on the surface with a swab of isopropyl. A well-executed hairline repair is invisible except under magnification.
Procedure for a clean break
A keytop broken cleanly through into two pieces is repairable if both pieces are present and undamaged. The technique is similar but requires better alignment. Dry-fit the pieces first without adhesive to confirm they align cleanly. If they do not, the break is not clean — usually a fragment of resin has been lost, and the repair must fill as well as bond.
Apply epoxy sparingly to both mating surfaces. Assemble, align by feel (the pieces will snap into place when correctly registered), and clamp lightly. Wipe excess epoxy immediately with an alcohol swab.
Procedure for missing chips
Small missing chips at the edge of a keytop can be filled with tinted epoxy. Mix a small batch, add pigment progressively until the colour matches the surrounding Bakelite under bright light (usually a black key needs bone black; some warm-brown keys need a mix of bone black and iron oxide). Overfill the chip slightly — cured epoxy shrinks a little and can be sanded flush.
After cure, sand progressively from 400 to 2000 grit wet, then polish with a mild automotive polish. The repair will be visible under close inspection but disappears at normal viewing distance.
When to give up
Some keytops cannot be saved. If the paper legend disc is missing, if the glass or celluloid cover is broken and the disc has been rubbed, or if a significant fragment of the keytop is lost, the honest course is to source a donor keytop from a matching machine. Save the original in a labelled envelope — future owners may want the option of returning to it — and record the swap in your inventory. A keytop swap is not a defect, but it is information the next owner deserves.
Two-part epoxy in a low-viscosity formulation. Cyanoacrylate holds but yellows the joint. PVA glues do not bond reliably.
Yes, with pigmented epoxy tinted to match. The result is visible under close inspection but acceptable at arm's length.
When the legend disc is missing or the crack has removed material — swap the entire keytop from a donor machine.
This article is original writing for The Ribbon & Platen and may not be reproduced without permission. Sources consulted:
- Plastics Historical Society, 'Phenolic Resins in Domestic Objects' (2008)
- Correspondence with conservators at the Museum of Everyday Objects
- Author's bench notes on 90 keytop repairs