Adjusting Typebar Alignment for a Clean Baseline
One letter prints higher than its neighbours. Another leans left. The bars are not broken; they need to be nudged, and the nudge is smaller than you think.
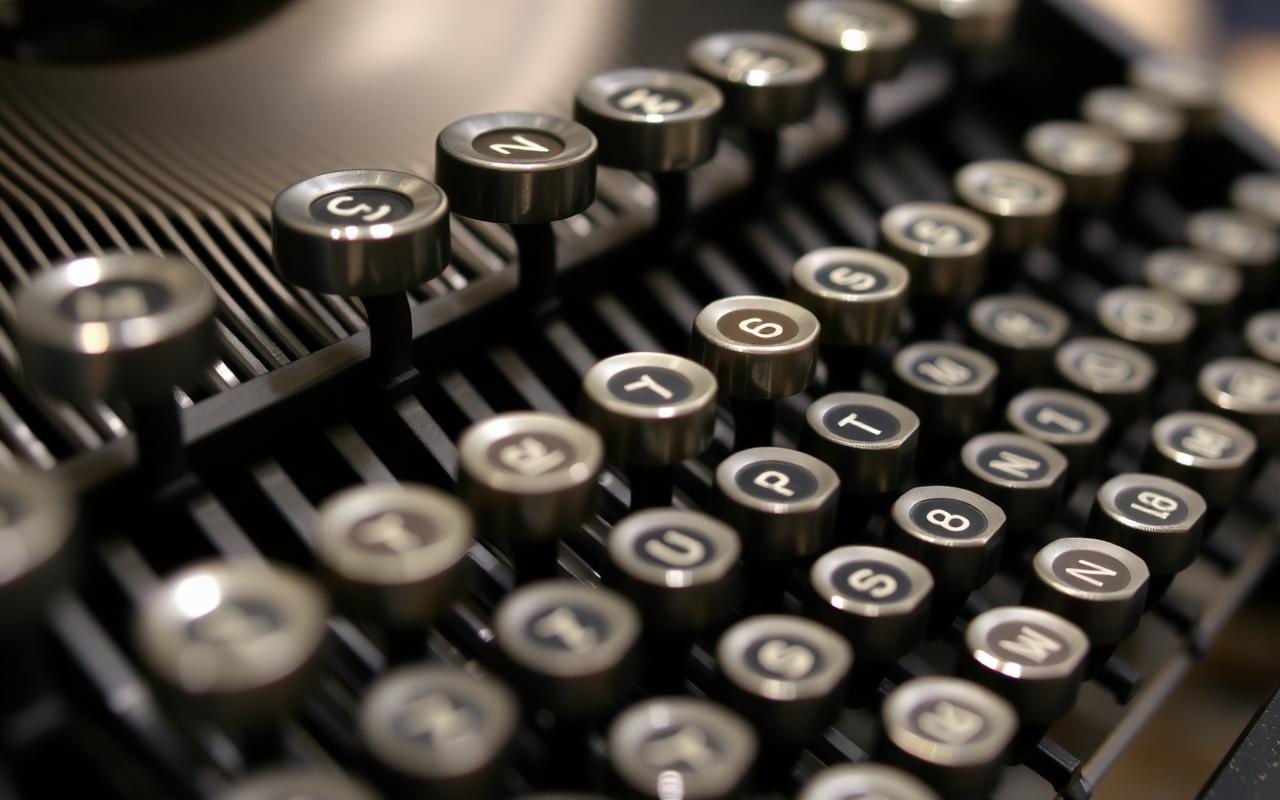
Every typewriter has one letter that behaves. The lowercase 'a' prints slightly high, the capital 'M' leans left, the comma sits too far below the baseline. On a well-maintained machine these deviations are minor and the eye ignores them. On a machine that has been dropped, over-cleaned, or worked by someone with pliers, the misalignments accumulate into type that looks handmade in the wrong way. Correction is a slow, careful procedure that costs nothing but patience and the price of one specialist tool.
Diagnosing the fault
Roll a fresh sheet of paper into the machine and type the alphabet in lowercase, then in uppercase, on separate lines. Then type the numerals and the common punctuation. Examine the sheet under strong light with a ruler laid along the baseline. Every deviation from the ruler is a candidate for correction.
Four faults appear most often.
- High or low. The character sits above or below the baseline by a fraction of a character height. Cause: the typebar shoulder is bent up or down. Correction: bend the shoulder in the opposite direction with a bar bender.
- Left or right lean. The character prints straight vertically but is shifted horizontally from its neighbours. Cause: the typebar shoulder is bent laterally at the pivot. Correction: lateral bend at the shoulder.
- Twist. The character prints with one side heavier than the other, as though the type slug rocks on the platen. Cause: the typebar itself is rotated slightly along its length. Correction: a small twist at the mid-point of the bar with a slotted bender.
- Foot ('foot' meaning the flat contact between slug and platen). The character is printing on its heel or its toe, resulting in the top or bottom of the letter being weak. Cause: the strike angle is off, usually from an over-flexed bar. Correction: a fore-and-aft bend at the shoulder.
Only one fault at a time. Attempting to correct two simultaneously produces three.
The one essential tool
A slotted typebar bender is a small steel handle with a precision slot cut across its head. The slot fits over the typebar just below the shoulder and allows a controlled bend without pinching the metal. Every professional shop has one; every serious hobbyist should own one.
Improvised alternatives — a hardwood dowel with a slot cut in the end, or a stainless-steel spoon handle with a shallow notch — will work if the bender is unavailable, but the tolerances are much less forgiving and the risk of marking the bar or bending it too far is significantly higher. Never use pliers of any kind. Pliers leave crushed marks that no future correction can remove.
The correction sequence
Work with the machine open and the ribbon removed. Lift the offending typebar by hand to the platen so you can see the strike position without printing.
1. Slot the bender over the typebar at the shoulder — the point where the bar begins to widen toward the type slug. Not on the slug itself. 2. Apply the bend slowly, feeling the metal move. Steel yields more predictably than most beginners expect. A quarter-turn of your wrist is usually already too much. 3. Release, lower the bar, and test-print a single character. Do not press repeatedly; one impression is enough to see whether the correction landed. 4. Evaluate under the ruler again. If further correction is needed, repeat with an even smaller motion.
For twist correction, the slot goes across the mid-shaft of the typebar rather than at the shoulder, and the motion is a rotation rather than a bend. The principle is identical: small, tested, repeated.
When alignment is not the answer
Sometimes what looks like a typebar alignment problem is actually a segment problem. A worn segment slot allows the typebar to seat differently each time, which produces alignment that changes between impressions rather than staying consistent. If your correction holds for one line and drifts on the next, the segment is worn, not the bar, and the fix is different — either a shim in the slot or, in severe cases, a segment swap from a donor machine.
A cracked or slipped type slug produces a fault that looks like extreme misalignment. Look at the slug itself under magnification. If the character is loose on its silver-soldered joint, the fix is re-soldering, not bending.
Living with imperfection
An old typewriter is not a laser printer. A well-aligned machine still shows subtle variation from letter to letter, and part of the pleasure of typing is that faint irregularity. Chase alignment until every character is legible and none draws the eye; do not chase it until the type looks machine-perfect. That way lies broken bars and re-bent shoulders, and after enough of them the segment itself begins to shift.
The best alignment work is invisible. A reader sees text, not evidence of correction, and the machine reads the way it was designed to read the day it left the factory.
Half a character height at the platen at most. Then test-print and re-evaluate.
You can — with a slot cut into hardwood — but a purpose-built bender is safer for the type slug.
Slugs are silver-soldered on. Bent slugs need a heated re-solder; that is a different procedure.
This article is original writing for The Ribbon & Platen and may not be reproduced without permission. Sources consulted:
- Ames Supply, Typewriter Repair Manual (multiple editions)
- Author's bench logs